To Create Penetrations on Elements
-
Click
Penetration Manager on
Collaborate ribbon.
It presents you with a blank grid in the Penetration Manager dialog. A message appears in the Message Center as follows "AutoPenetrations placement and all previous operations can not be undone after processing update model."
-
Do one of the following to populate grid data in the
Penetration
Manager dialog.
Select both Clash check and Configuration files from the drop-down list to populate the grid data.
or
Click File > Open and select previously saved penetration configuration file to populate grid data.
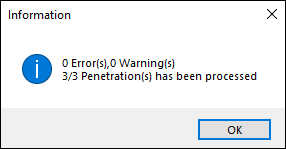
A Information dialog appears that displays an alert message as shown in the figure and a message appears in the Message Center "AutoPenetrations placement and all previous operations can not be undone after processing update model."
-
Do the following to open, save, export or share a file from the
Penetration
Manager dialog.
- Click File > Open in the Penetration Manager dialog to open a file.
- Enter filename in the File name textbox.
-
Click
Open.
It opens the Penetration Manager *.xml file only. If any other file is selected it gives a Warning message Select valid Penetration File.
-
Click
File > Save in the
Penetration
Manager dialog to save a file.
It gives an Information message The changes have been saved.
- Click Export to Excel in the Penetration Manager dialog to export data to excel.
- Select the destination and enter filename in the File name textbox in the Save CSV File dialog.
-
Click
Save.
It gives an Information message Report generated.
- Click OK.
-
Click
Update model.
A Information dialog appears that displays an alert message as shown in the figure.
- Click OK.
- Sort by either the Severity or Error type to solve the error in the Validation Tab.
-
Click
Review under
Action column in the
Penetration
Manager dialog.
It opens the respective configuration file.
- Add the required From to To ranges, Save the changes made and click Apply in the Penetration Configuration dialog.
-
Click
Refresh to re-validate the data in the
Validation Tab.
The errors vanish from the Validation Tab once the ranges are available and data is populated in the Penetration Manager dialog.
-
Click
Update model.
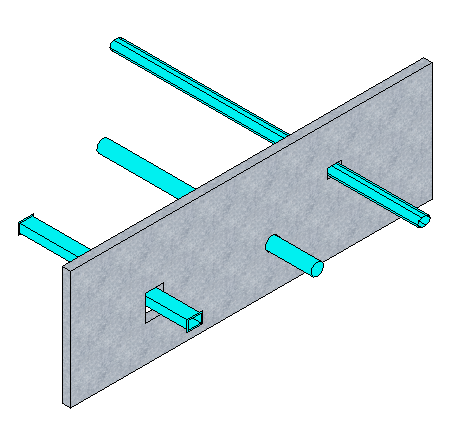
The Update model option disables in the Penetration Manager dialog and penetrations are created in the model.
- Click Close to close the Penetration Manager dialog.
- (Optional)
Click
Delete All
.
An Alert dialog opens that displays a message Do you want to delete all AutoPenetrations?
-
Click
Yes to delete all auto penetrations else click
No to discard the changes.
All the auto penetrations are deleted from the model.